Sometimes it happens that you have to move a VM from one virtualization platform to another. Moving a VM from one VM host to another is a common and straightforward task, however moving to another platform is not always painless.
When it comes to moving from Hyper-V to ESXi there is a handy tool from VMware: VMware vCenter Converter Standalone. Unfortunatelly it only supports up to Hyper-V Server 2008 R2, therefore I have to choose another converter option, namely the “Convert a physical machine” as you can see below: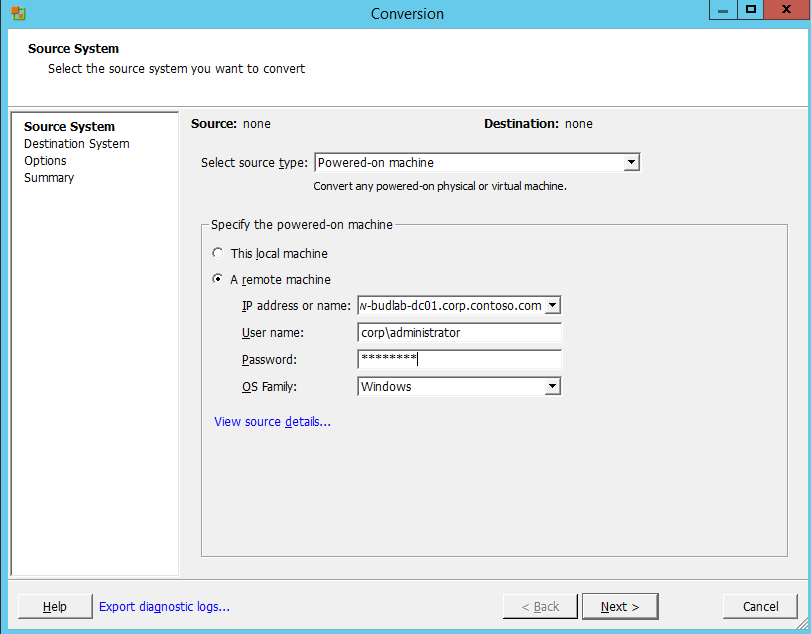
It will then install the agent on the target VM and place it to the selected ESXi host: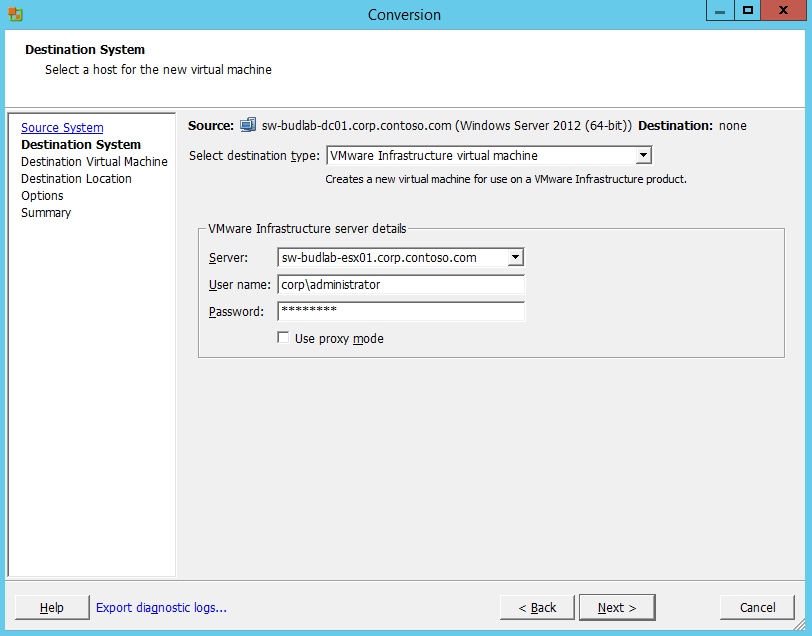
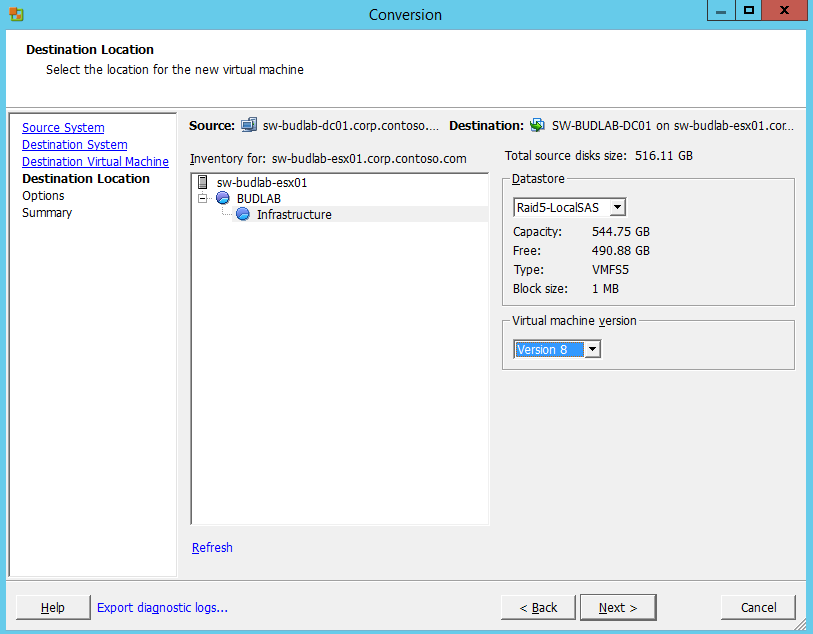
You can have the option to fully customize your destination VM before the conversion starts. In my case I have to deselect volume E:, because it is too big to place on the destination datastore: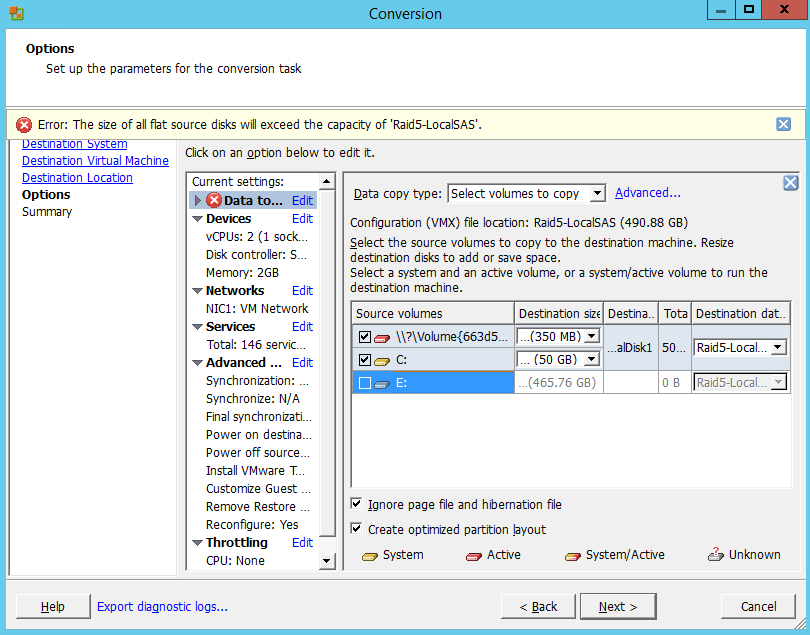
You also have the option to power off the source and power on the destination or install VMware tools right after your conversion successfully finished: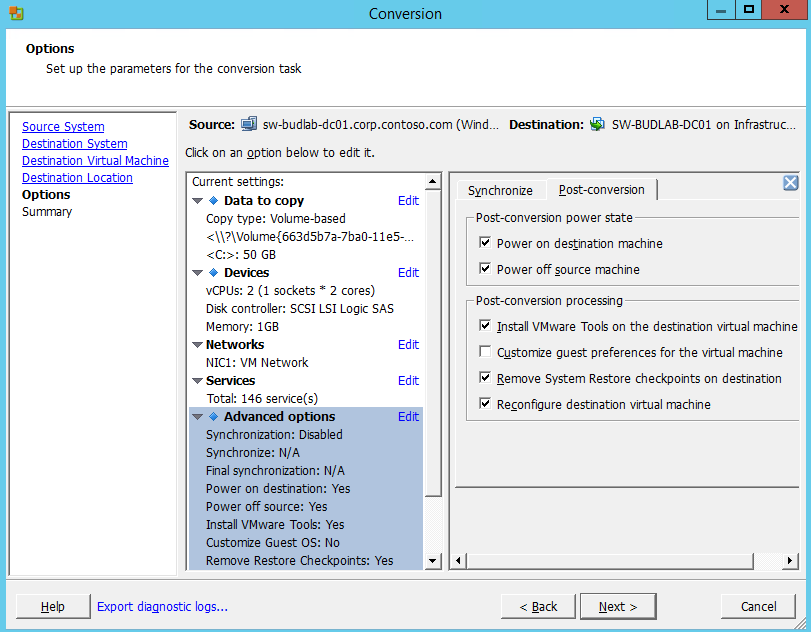
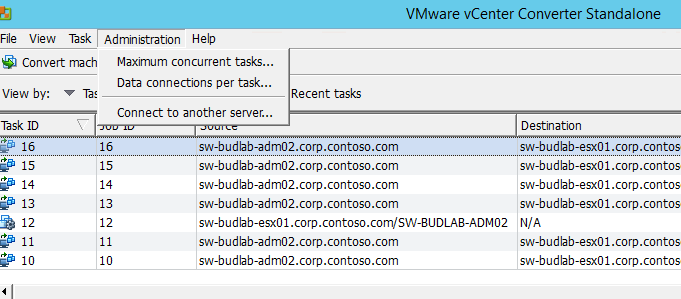
After you click on finish, you can track your task’s progress: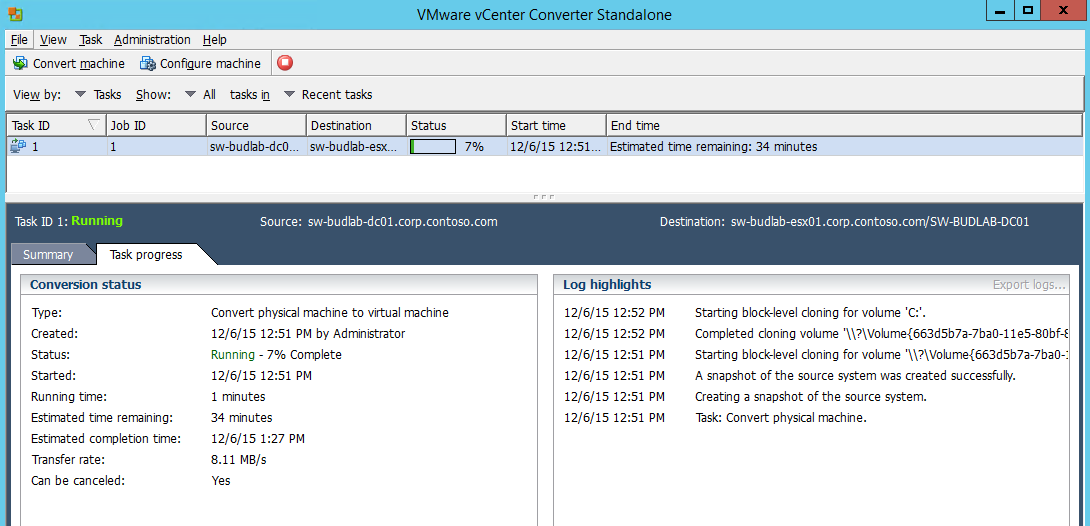
If you want to optimize the conversion’s resource usage, you could set network bandwith and CPU throttling in the options. You can also control the simultaneous tasks and data connections in Administration menu of the tool: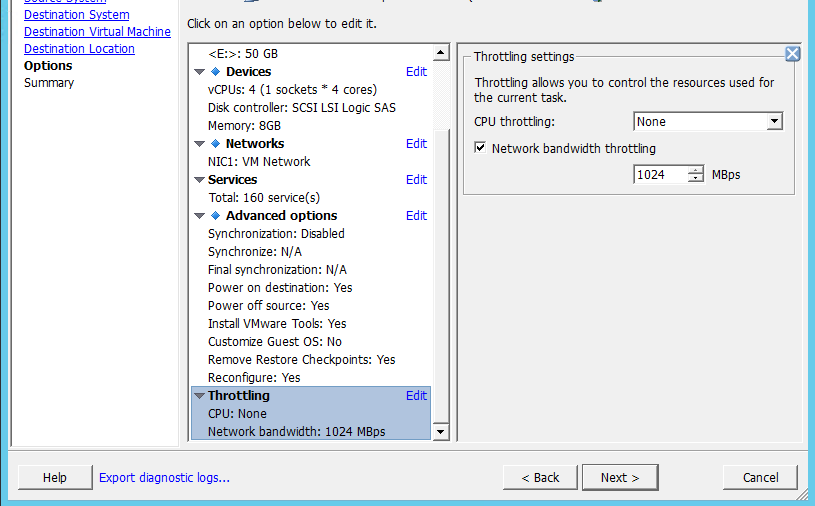
Troubleshooting
OK, so you think it wasn’t a big deal so far, wasn’t it? Then go to your VM on its brand new VMware host and check how is it running…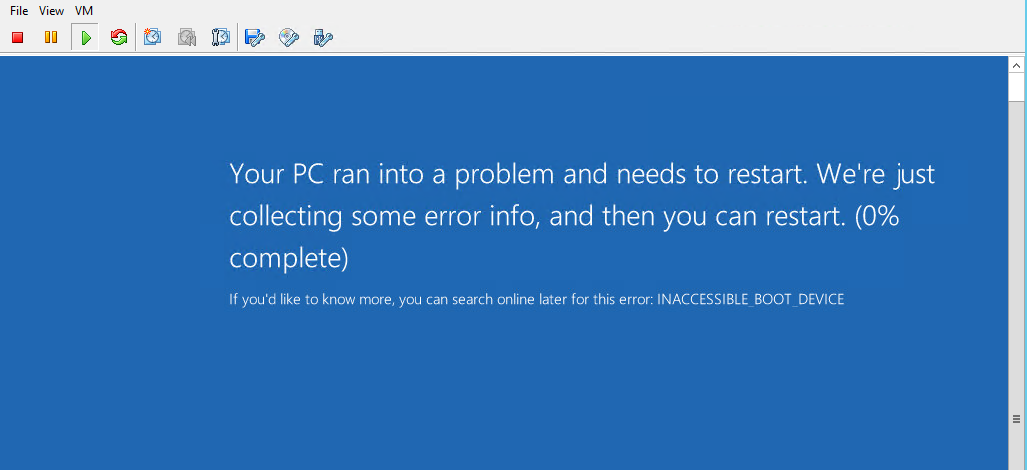
Ooops, it looks nasty 🙂 Based on the error message on the screen “INACCESSIBLE_BOOT_DEVICE” seems our VM is unable to find its hard disks and eventually fails to boot into Windows. It’s RTFM time 🙂 After some reading now we know what we should’ve done. Go back to our source VM, import the LSI SAS driver from HKEY_LOCAL_MACHINE\SYSTEM\CurrentControlSet\Services\LSI_SAS and start over the conversion.
Another issue you could expect is that your VM’s NIC will be changed during conversion. Because you are converting your VM via the network you only have the option to remove the old NIC after a successful conversion. When you connect to your VM via VMware Console and attempting to change the name or IP of the new NIC you will get the following warnings: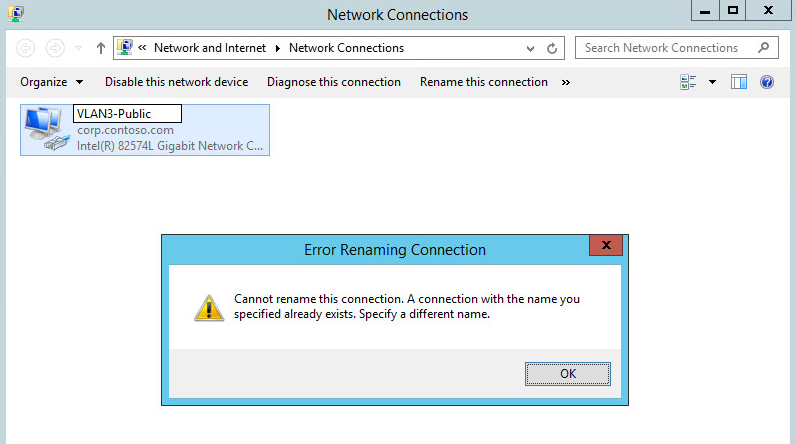
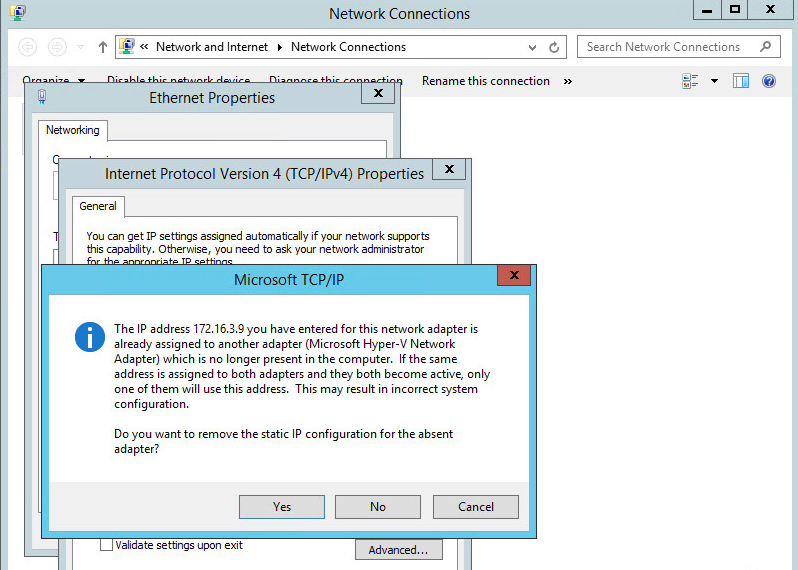
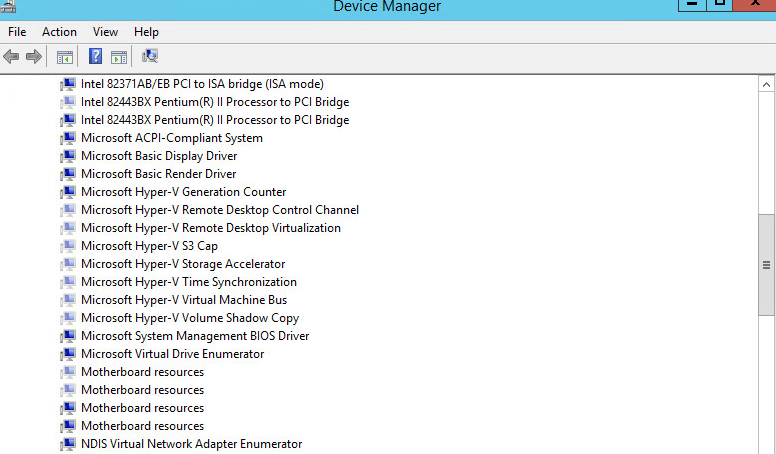
However, the old NIC is not shown in Device Manager until you turn on “Show hidden devices” option: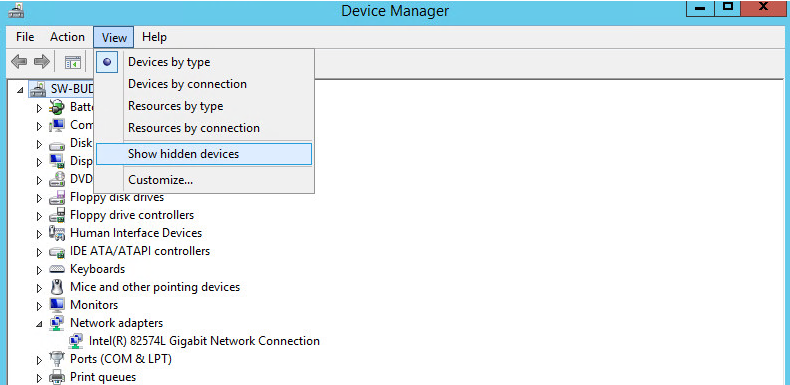
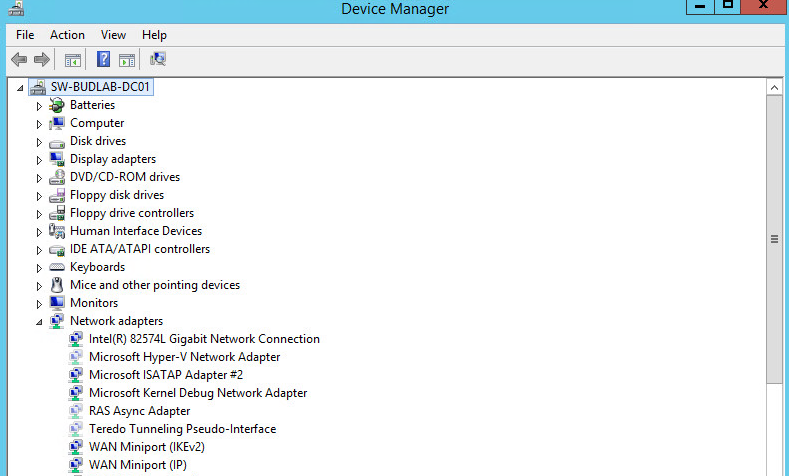
After you removed the hidden Hyper-V NIC you can set the new NIC as you desire. You should remove all other Hyper-V related hidden devices as well: